1- Import your data to Google My Maps 2- Style your map on Google My Maps 3- Change the style of your base map on Google My Maps 4- Edit your map data on Google My Maps 5- Label your data on Google My Maps 6- Share and embed your map from Google My Maps 7- Search and filter your data on Google My Ma
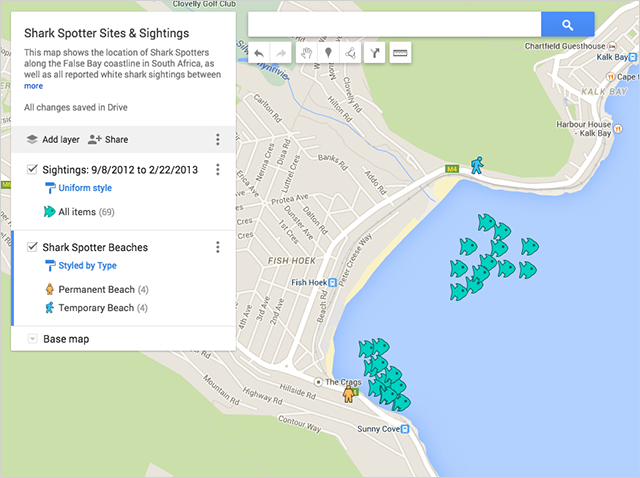
Start by customizing the Sightings layer, changing the default red pin to a green fish icon.
- Go to the Sightings map layer in the menu.
- Hover your cursor over the text All items (69). You should see a paint can icon appear on the right. Select the paint can.
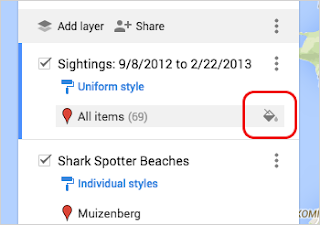
- Selecting the paint can will pull up a menu of icon choices, including colors and shapes.

- Select More icons to see several icon shapes you can choose.

- Under More icons, select the green icon
 . Now your red pins should be green fish on the map.
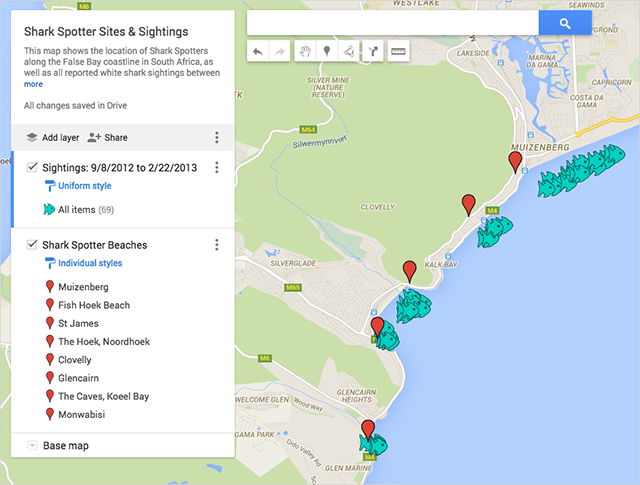
- Click the Shark Spotter Beaches layer in the menu and select Individual styles.
- Use the Group places by drop-down menu to select Style by data column: Type, then choose Categories.

- Hover your cursor over the text Permanent, and select the gray paint can icon that pops up.
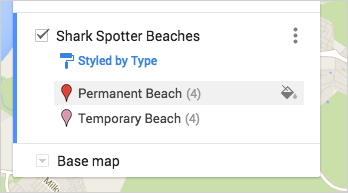 Under More icons, select the orange icon
 . You should now see those icons on your map.
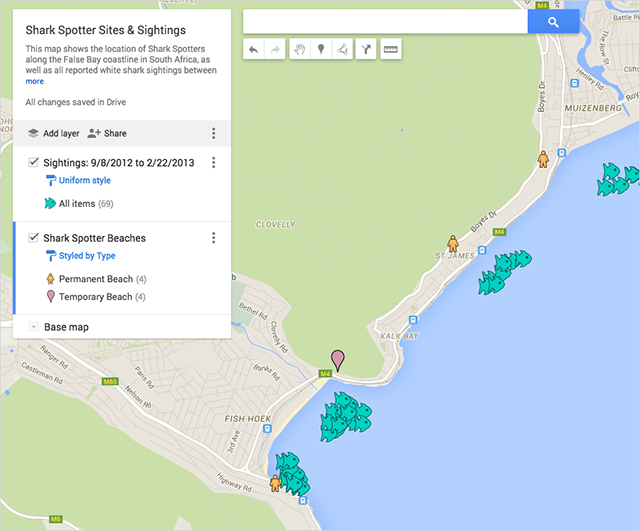
- Hover your cursor over the text Temporary, and select the gray paint can icon that pops up. Under More icons, select the blue icon
 . You should now see those icons on your map: